Cellpose
Generalist deep-learning model for cell, nucleus, and object segmentation in 2D and 3D microscopy images.
Overview
Cellpose is used via a GUI, Python, or the command line. A Fiji plugin can call a local Cellpose install to bring segmentations into Fiji. The latest version (Cellpose-SAM) generalises to many cell types and modalities without retraining, but custom training on your own data is still supported.
Key features
- Pre-trained models including Cellpose-SAM (
cpsam) for generalist segmentation - GUI for interactive segmentation, annotation, and human-in-the-loop fine-tuning
- Python API and CLI for batch processing
- GPU acceleration via PyTorch/CUDA
- 2D and 3D segmentation
- Fiji integration via the BIOP wrapper
You can try the latest Cellpose version on one of your own images online at HuggingFace (Cellpose-SAM).
Installation
GUI
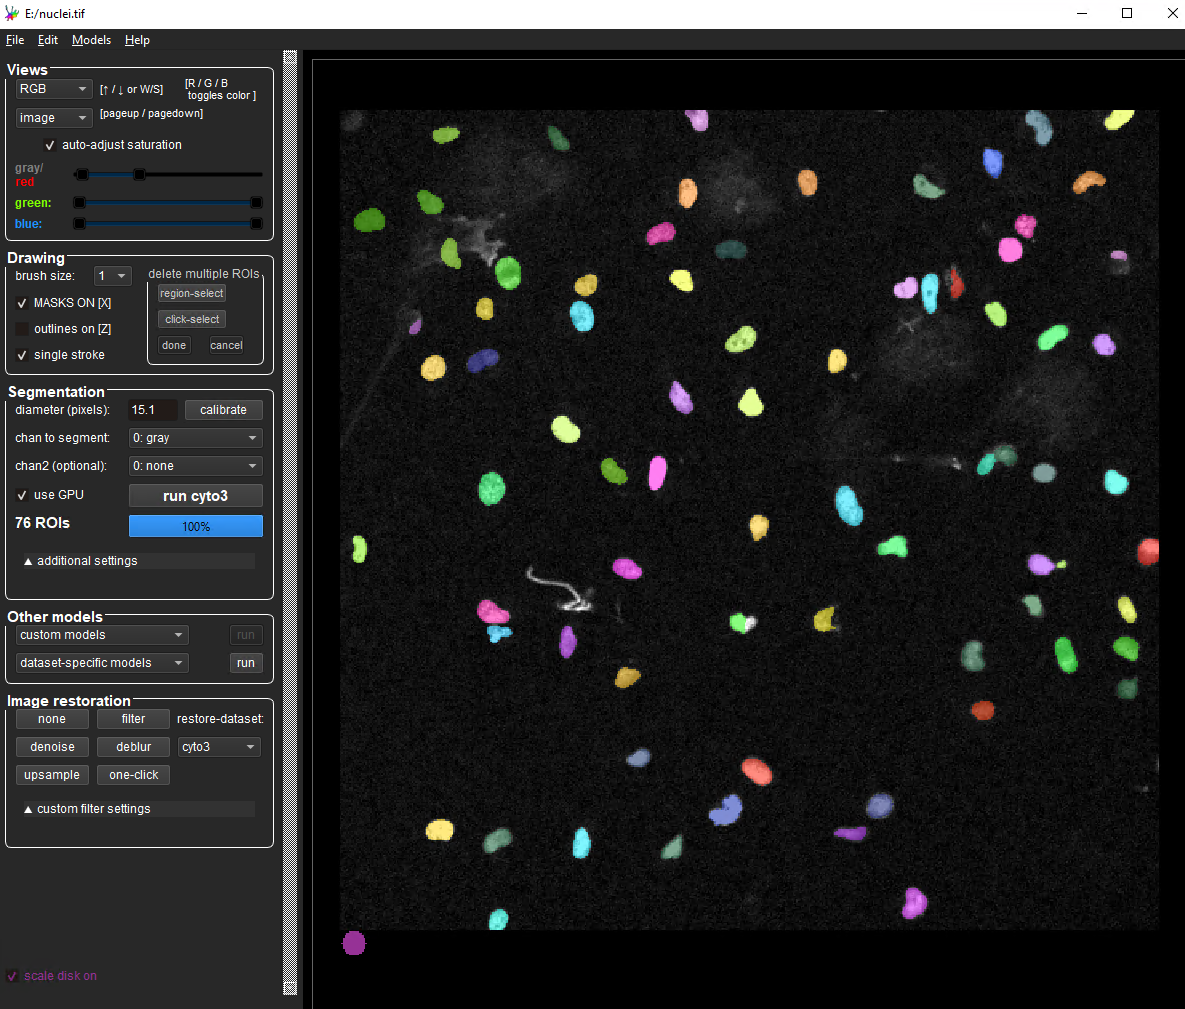
The Cellpose GUI runs in Python and provides image loading, segmentation, visualization, and human-in-the-loop model fine-tuning.
- GPU (CUDA) is strongly recommended for reasonable performance.
- Install via the command line using a Python package manager such as
pixiorconda. See Python environments for setup.
Recommended: use the ready-made pixi environment. The AI_tools_pixi repository ships a locked Cellpose 4 environment with CUDA 12.8:
git clone https://github.com/Leiden-Cell-Observatory/AI_tools_pixi
cd AI_tools_pixi/cellpose
pixi install
pixi run cellpose
Alternative: manual conda install.
# create a new conda environment
conda create -n cellpose

# activate the new environment
conda activate cellpose

# install cellpose with GUI
pip install cellpose[gui]
Launch the GUI with cellpose. Activate the environment (conda activate cellpose) in each new terminal.
- On a CUDA-capable GPU,
pipinstalls the GPU build of PyTorch automatically. Cellpose reports whether the GPU is detected at startup and in the GUI. See the upstream GPU troubleshooting guide. - If installing on your own machine is problematic, use one of the Cell Observatory analysis workstations or an HPC session with remote desktop or X-forwarding.
Fiji plugin
A Cellpose plugin in Fiji lets you call a local Cellpose install from ImageJ. It needs a working Cellpose environment (see above) and is distributed via the PTBIOP Fiji update site.
- In Fiji,
Help > Update, clickManage Update Sites, enablePTBIOP. - After restart, the plugin is at
Plugins > BIOP > Cellpose/Omnipose. - Configure it with the path to your Cellpose environment. Find it with
conda env list. - For the latest model, set
--pretrained modeltocpsam.
Tip
To convert Cellpose label images to Fiji ROIs, the same update site provides Plugins > BIOP > Image Analysis > ROIs > Label Image to ROIs.
- BIOP update site: https://wiki-biop.epfl.ch/en/ipa/fiji/update-site
- Plugin source: https://github.com/BIOP/ijl-utilities-wrappers
Command line
For batch processing (e.g. a folder of images), use the same install as the GUI. See the Cellpose CLI documentation.
Running Cellpose on the HPC
To run the Cellpose GUI with a GPU, you can use the Alice cluster. One approach: set up an RDP remote desktop session to Alice (instructions; MobaXterm simplifies the connection), then run Cellpose inside a Singularity/Apptainer container.
From a terminal on Alice:
# create a folder for the container image
mkdir ~/data1/containers/cellpose
cd ~/data1/containers/cellpose

# grab an interactive GPU slurm job
salloc -p testing --gres=gpu:1

# register the container repository
apptainer remote add --no-login SylabsCloud cloud.sycloud.io

# pull the image
singularity pull --arch amd64 library://ez82/cellpose/4.0.6:latest
Start the container and launch the GUI:
singularity run --nv 4.0.6_latest.sif
cellpose
On subsequent sessions, allocate a Slurm job and run the existing .sif directly.